Using Attributes for Intelligent Workflows
Attributes are a powerful Mobile Access Management feature that shapes your Workflows for your particular needs. You can think of Attributes as labels, or tags, attached to devices and Launchpads. But Attributes are just empty containers for your data. Once you create an Attribute, you need to populate the data so Mobile Access Management can use it.
Attributes are deeply integrated into Mobile Access Management
Attributes are useful when your deployments are very similar, but not identical.
Example
You have 100 iPads to deploy. If all the iPads will be 100% the same, you won’t need Attributes. Just create a single automated Workflow deploy it to all iPads.
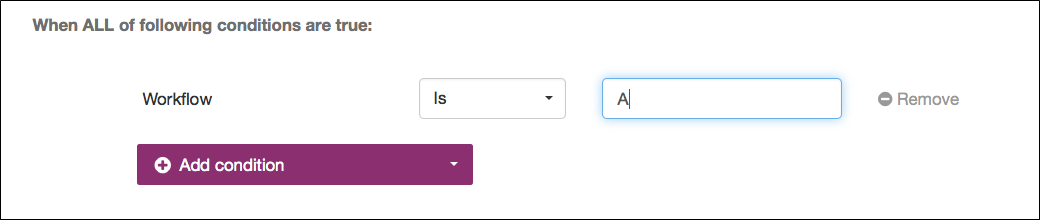
But what if 50 of your iPads are supposed to receive Workflow A, and 50 are to receive Workflow B? An Attribute — named "Workflow" for example — can automate this operation for you. Some devices will have the value "A," and some with the value "B". You can then create two sets of rules to look at the Workflow Attribute, and from there select from the two Workflows.
Click to enlarge
If each of your 100 iPads are to receive a similar Workflow, but you want to name each iPad with a unique value, like an asset tag: Don’t create 100 separate workflows, of course. Instead, save that asset tag in a device custom Attribute, "Asset Tag." From there, use this Attribute as a placeholder in the Device Name Action.
You can use Attributes in Workflows and Automation.
In Automation, Rules have conditions and Actions. Your Attributes appear in the options for conditions. This is the "IF" part of an "IF…THEN…" statement. So you can create rules like "If my [Store Number] is [999…]" or "If my device is a [Nursing device]… THEN […]" or "If the Country is France… THEN […]".
Click to enlarge
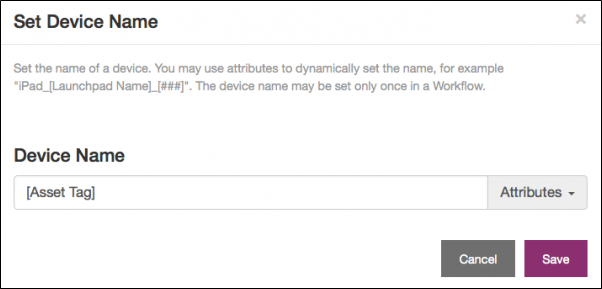
Attributes may also be used in Workflows. For example, the Set Name action will usually set all device names to the same value. However, if you use an Attribute, you can set the entire device name, or just a part, to a unique value from an Attribute. During deployment, Mobile Access Management will look up the Attribute value for the particular serial number for that device, and perform a substitution.
Other areas where Attributes may be used:
-
Enroll in AirWatch: Register to Username
-
Enroll in AirWatch: Set Organization Group
-
Enroll in AirWatch: Set Tags
-
Enroll in MobileIron: Set Labels
-
Add Custom XML (i.e. Configuration Profile with Tokens)
-
Send Webhook (Pre-Deploy)
-
Send Webhook (Post-Deploy)
Create your Attributes in Admin > Attributes.
Click to enlarge
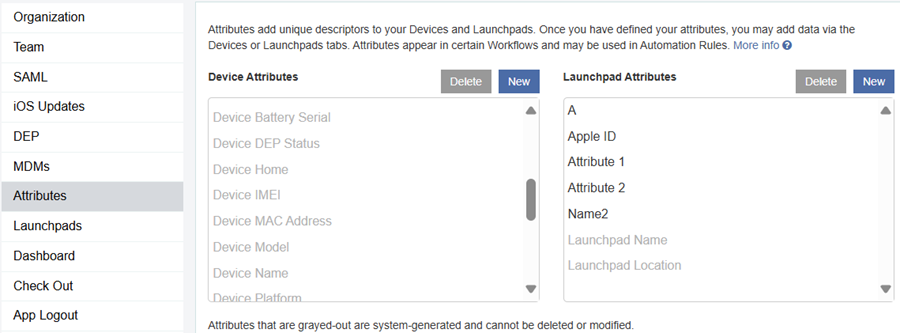
This example shows a couple of custom Attributes — Asset Tag, Dept. and Home Launchpad— and two Launchpad Attributes. You may add, delete and rename Attributes here, too. If you rename Attributes, they will also be updated in Workflows and rules in Automation. You may also use built-in Attributes in your Workflows, these are known identifiers for a device, such as Serial #, Device Model, etc.
For Launchpads, there are two built-in attributes: Launchpad Name and Launchpad Location. Built-in Attributes can’t be deleted or edited.
MAM supports attributes for both devices and Launchpads. Choose whichever is simpler for your Workflow.
You have 100 iPads, 50 should receive Workflow A and 50 should receive Workflow B. You can create an Attribute named "Workflow" for your devices or for your Launchpads. If you choose to create a device Attribute, then you’ll need to assign "A" or "B" to each of your 100 devices. But if you choose to create a Launchpad attribute, you can add "A" to one Launchpad and "B" to the other, making your data entry task trivial. Just plug in the "A" iPads into Launchpad "A", etc.
Generally, if your custom data corresponds to a location (store, floor, cart, etc.) then a Launchpad attribute will be simpler. Otherwise use a device Attribute.
An attribute is an empty container; you need to fill it with data to be useful. You can add this data in two places.
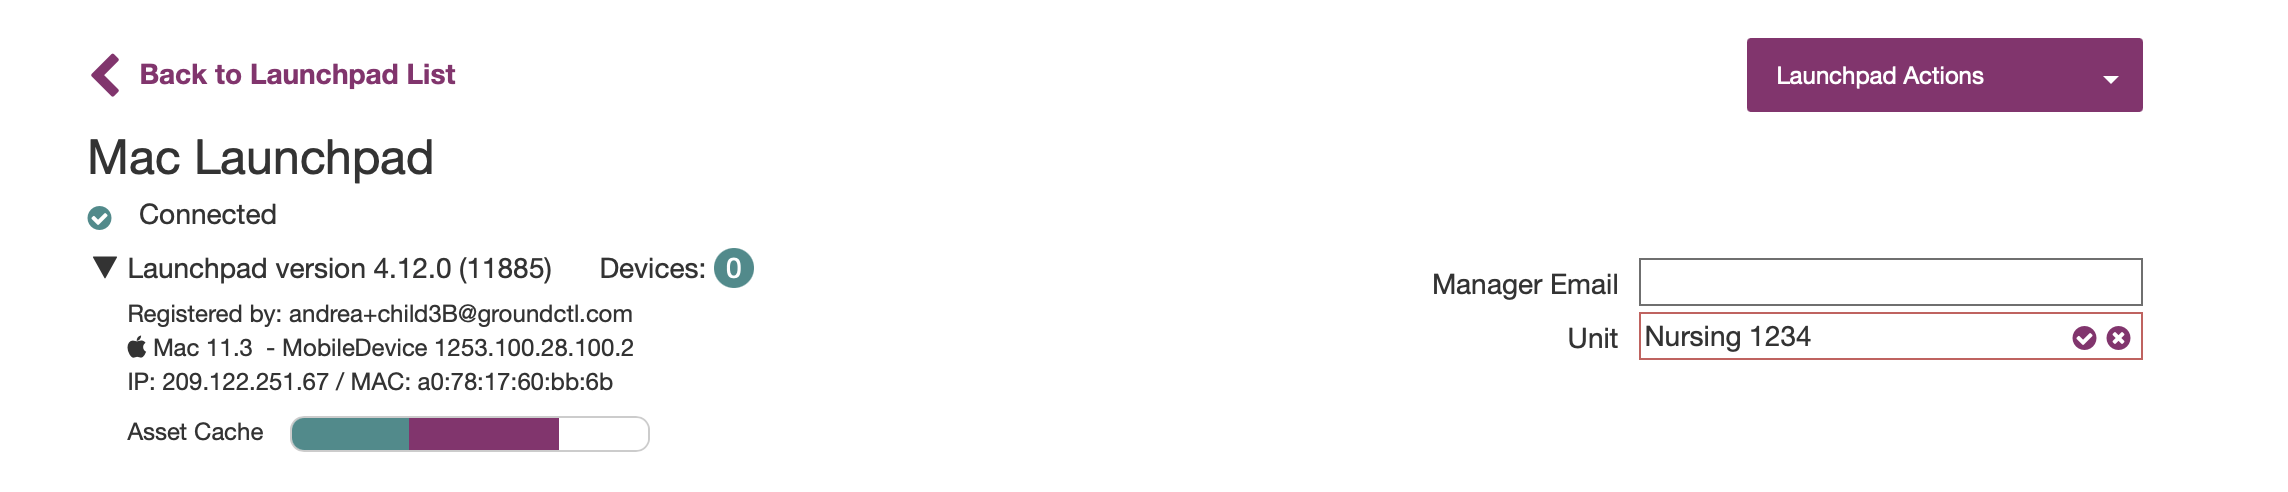
From the Admin > Launchpads tab, click to select an individual Launchpad. To expand the view, click on the expansion triangle next to the Launchpad version. Populate the attribute data and click the checkbox to save the data.
Click to enlarge
You have many, many ways to add device attribute data.
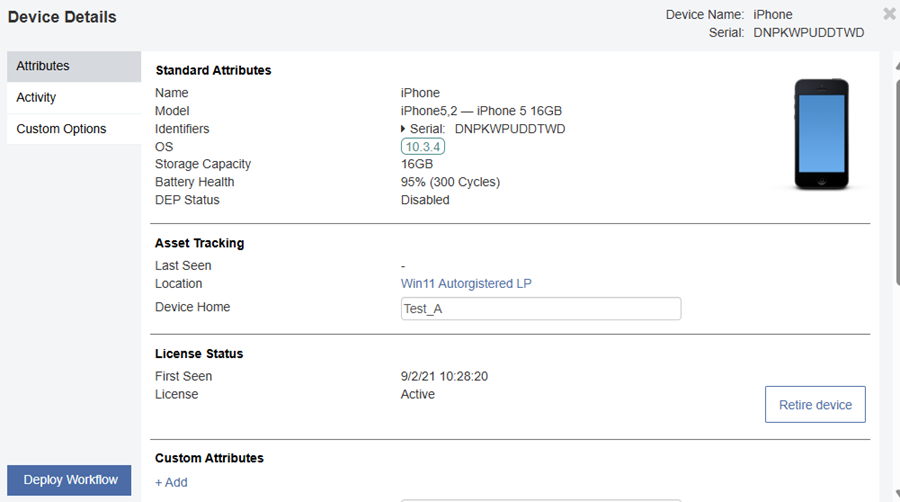
One-by-One: In Devices, click on any device. This opens a Device Details window that allows you to add and edit Attribute data.
Click to enlarge
Import CSV: Importing a CSV files is more efficient than one-by-one. The CSV file should include a header row containing (minimally) a column named Device Serial and a column with the name of the Attribute. Any columns you include will be overwritten, so include only the columns you wish to modify. For a template, simply export the device list.
Use Set Attribute action in a workflow: This is a good option if you want to capture data using a Launchpad attribute and easily store it as Device attribute. For example, you are configuring a batch of devices set for Unit 1234. Populate this data in the Launchpad attribute, connect your devices and use a Workflow that grabs the Launchpad attribute and permanently populates it in a Device attribute.
Pull Data with Webhooks: The Workflow action Send Webhook (Pre-Deploy) will alert an external system of your impending deployment. If that system returns a JSON object of device Attributes and data, Mobile Access Management applies those values before the deployment begins. Some applications include looking up full name from username, looking up timezone from location ID, etc. The data should be returned as an object of Attributes labels and data:
{ "Asset Tag": "12345"; "Color": "Red" }Push Data via API: The Mobile Access Management API can be used to read and push Attribute data for devices. You may use this to have an external system control Mobile Access Management behavior. See the API documentation for more information.
Use Gantry for Just-In-Time Provisioning: We have developed a simple system for adding and modifying device Attribute data via a web page. Create an API Key, then visit /gantry?api_key=xxxxx. We designed this page to work well with barcode scanners in your configuration centers.